Cossor 463AC
chassis
number A140018
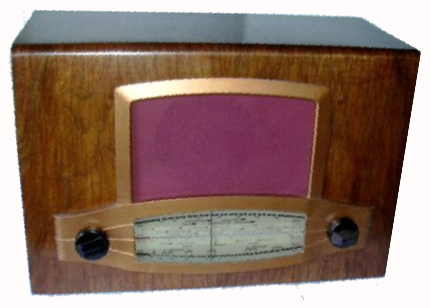
Cossor 463AC s/n A140018
veneered wood case with
sloping front. Original cost Ł14 6s 3d plus purchase tax. OM10(ECH35)
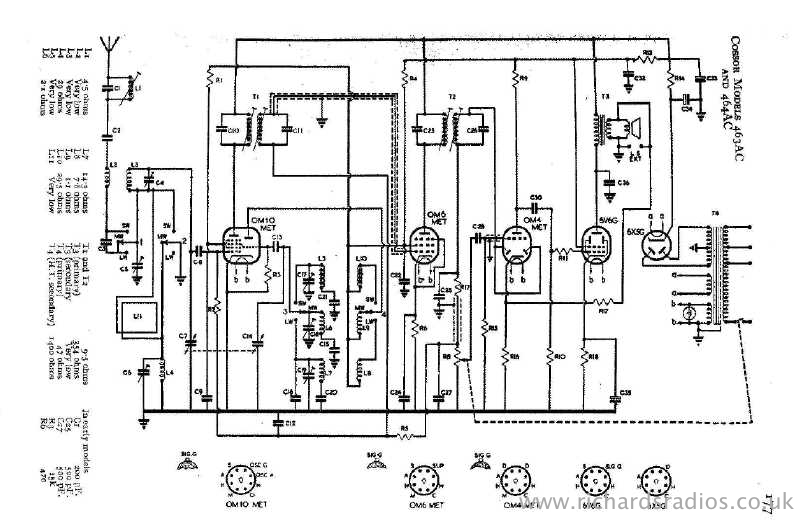
OM6 OM4(6Q7GT) 6V6 6X5. Long/medium/short wavebands working, UK1947 (I
have circuit diagram)
click
here to see a
similar radio made for export market
This set seems to be electrically identical to the model
464.The frequency changer and the detector valves have been changed in
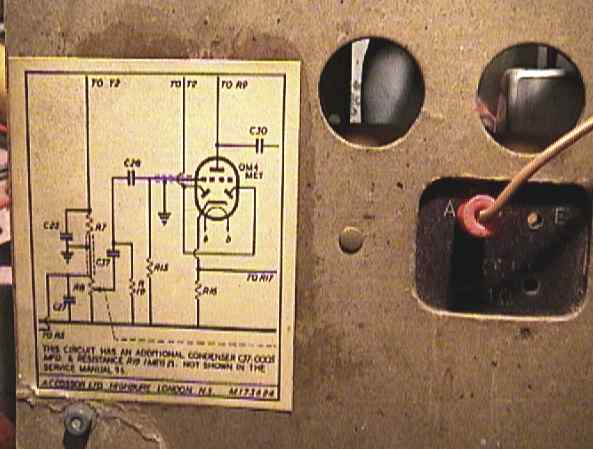
the past, the current line up is ECH35 OM6 6Q7GT 6V6 6X5. click here to see the
circuit diagram
I have had this set since the early 1980's and there has been
nothing
particularly wrong with it except for:
• a missing wave change knob
• over the years the varnish on the veneered case had faded
and cracked along the grain of the veneer
• the bronze paint had worn off the die cast metal
escutcheon adjacent to the knobs
• the celluloid in front of the dial had shrunk and yellowed
• the loudspeaker cloth was faded and disintegrating
I started on this set when my eyes alighted on some bronze
acrylic paint that my son had been using.
view
from front showing frame aerial at rear
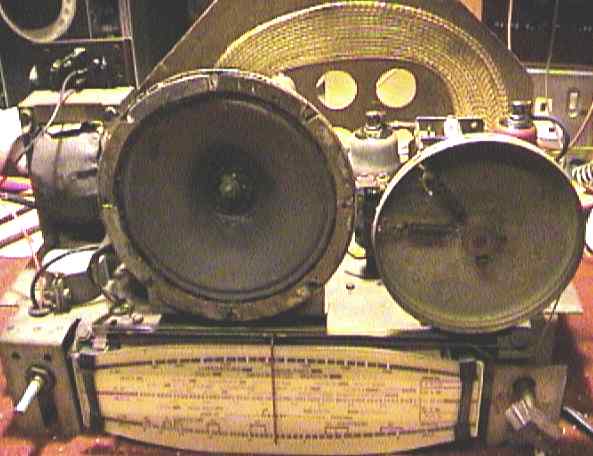
view
from rear showing chassis mounted
electrolytic capacitor
The cabinet and escutcheon were
stripped using paint stripper,
wire wool and fine glass paper. After applying a light stain the
cabinet was trench polished and the escutcheon given 2 coats of paint.
The loudspeaker cloth had been
originally a plum colour. I
found that the material used for tapestry had much the same type of
weave and dyed a small piece to take the place of the original.
I made a template and cut a piece of
glass to replace the
shrunken and yellowed celluloid. this was glued into place and when all
was assembled gave a much better view of the dial.
I have made a temporary knob for the
wave change switch from
modelling plastic, it works but is not beautiful!
The glue holding
loudspeaker was no longer
doing its job
and parts of the cardboard surrounding the cone had gone missing. No
big problem to sort out!
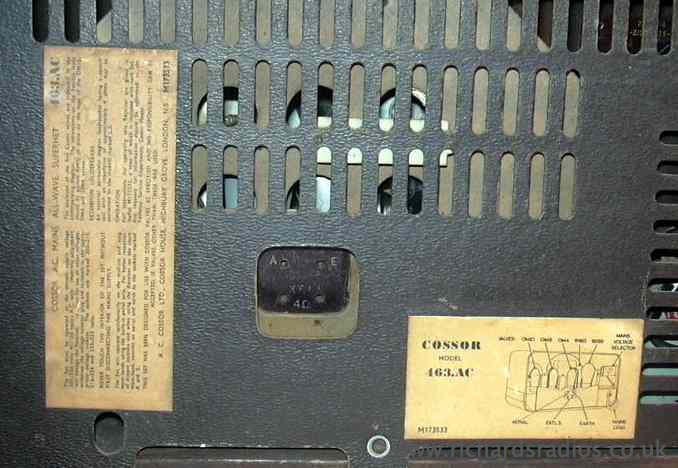
Back
cover
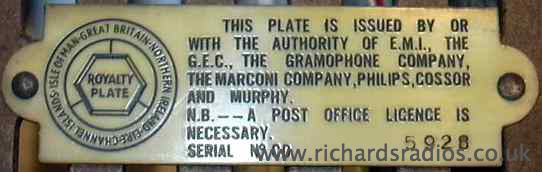
Royalty
plate attached to inside of back cover
Cardboard
support for frame aerial
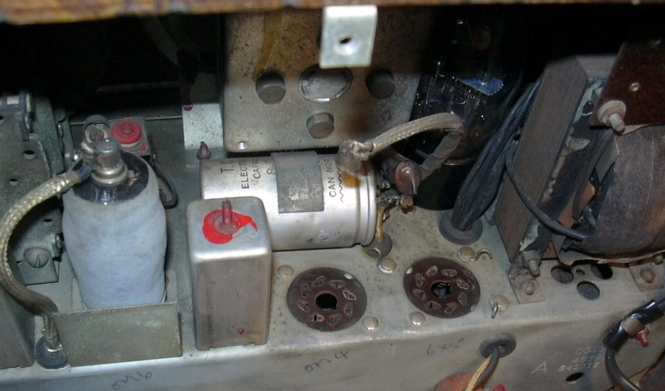
Electrical tasks included:
• cleaning the wave change switch and the volume control
• replacing perished rubber insulated wires and mains cable
• replacing the electrolytics and one decoupling capacitor
The cardboard supporting the frame aerial was severely bent
and the aerial coil had come unstuck. Soaking the cardboard with water
and letting it dry slowly whilst clamped between two pieces of wood
improved matters considerably.
If you want to know more about Cossor
radios look at this great site:
http://www.cossor.co.uk/home